# Brave Wallet
In this guide, you will learn how to use the Brave Wallet on Brave to interact with the Cronos network.
## Add Cronos to the Brave Wallet
Let's connect your Brave Wallet to the Cronos network:
* **Step 1**\
On the top right side of the Brave browser, click the (Wallet) icon.\
If you don’t see it? Click **Update** in the toolbar for the latest version of Brave. \\
* **Step 2**\
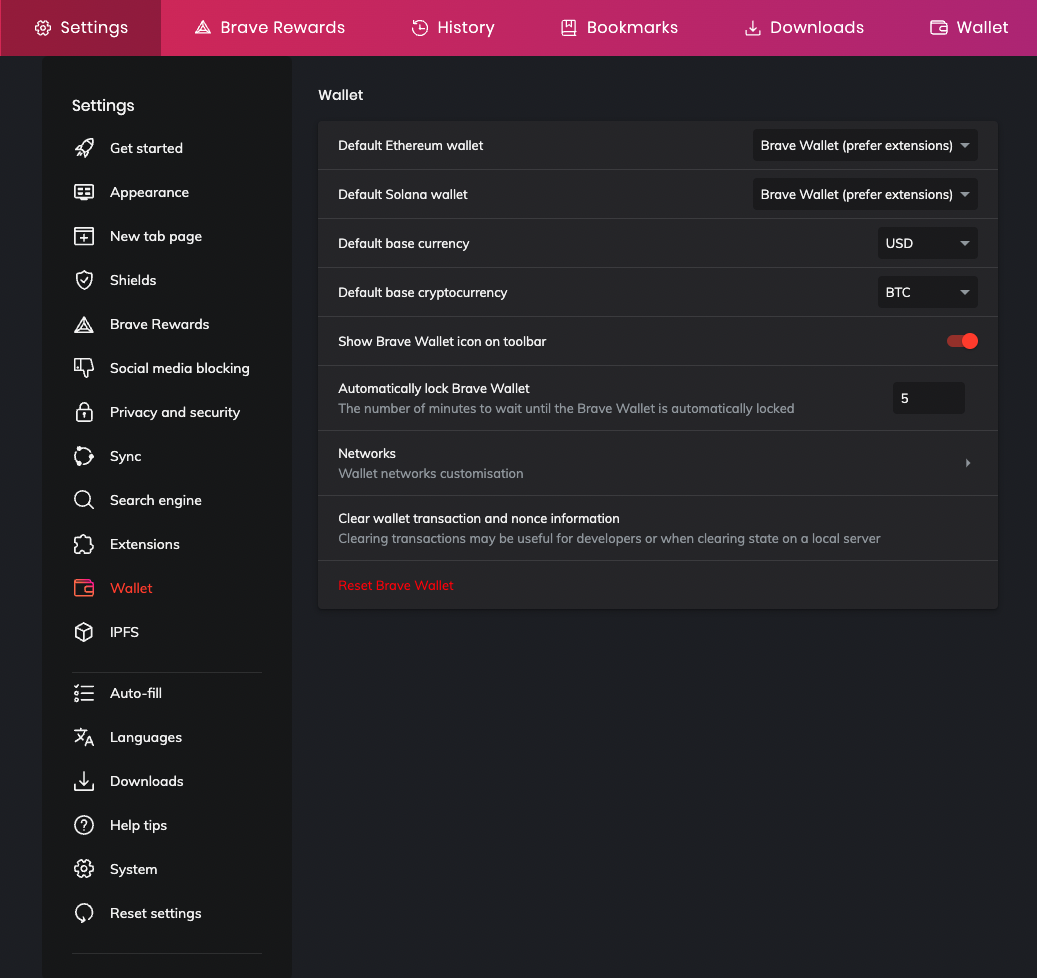
Now follow the wizard to either **create a new wallet** or **import an existing wallet.** Once you have your wallet ready, click the **three dots** in the upper right corner of your wallet view and go to "**settings".**\

* **Step 3**\
In the settings page, under the"**Wallet"** tab**,** click **"Networks".** Alternatively, you can visit `brave://settings/wallet/networks` in the browser URL.
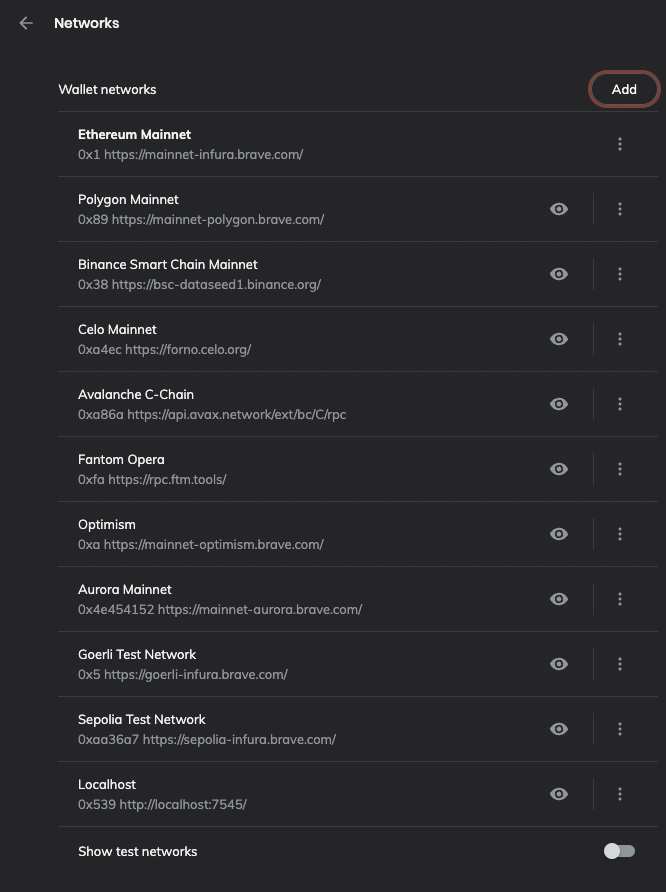
* **Step 4**\
Now in the list of networks, click "**Add**" in the top right corner to add a Cronos network.
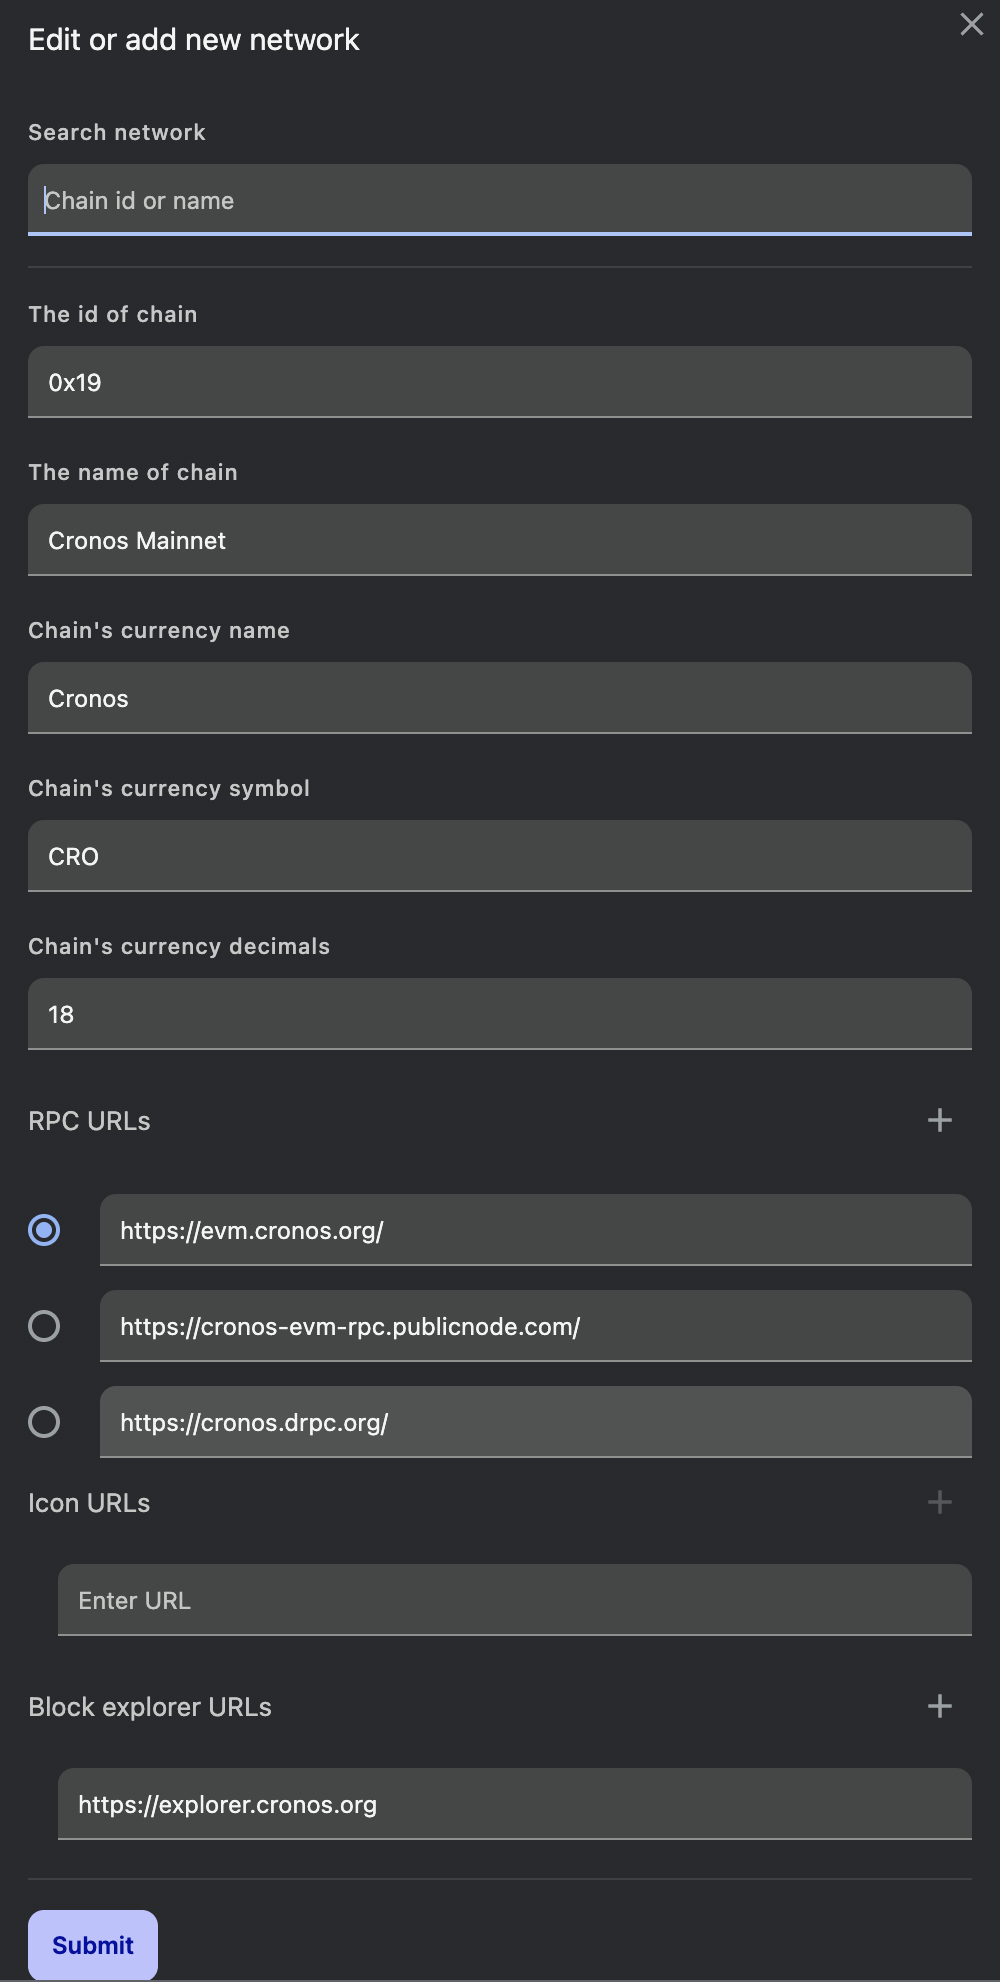
* **Step 5**\
A new window to add config for a new network will pop up.\
Under "**Search network**", select "**25 Cronos Network"** from the drop-down menu for Cronos Mainnet or "**338 Testnet"** for Testnet.\
Now, most fields should be pre-populated, as shown below:
* In order to display the Cronos logo, set the "**Icon URLs**" field to:
```
https://cronos.org/favicon.png
```
and click **"Submit".**\\
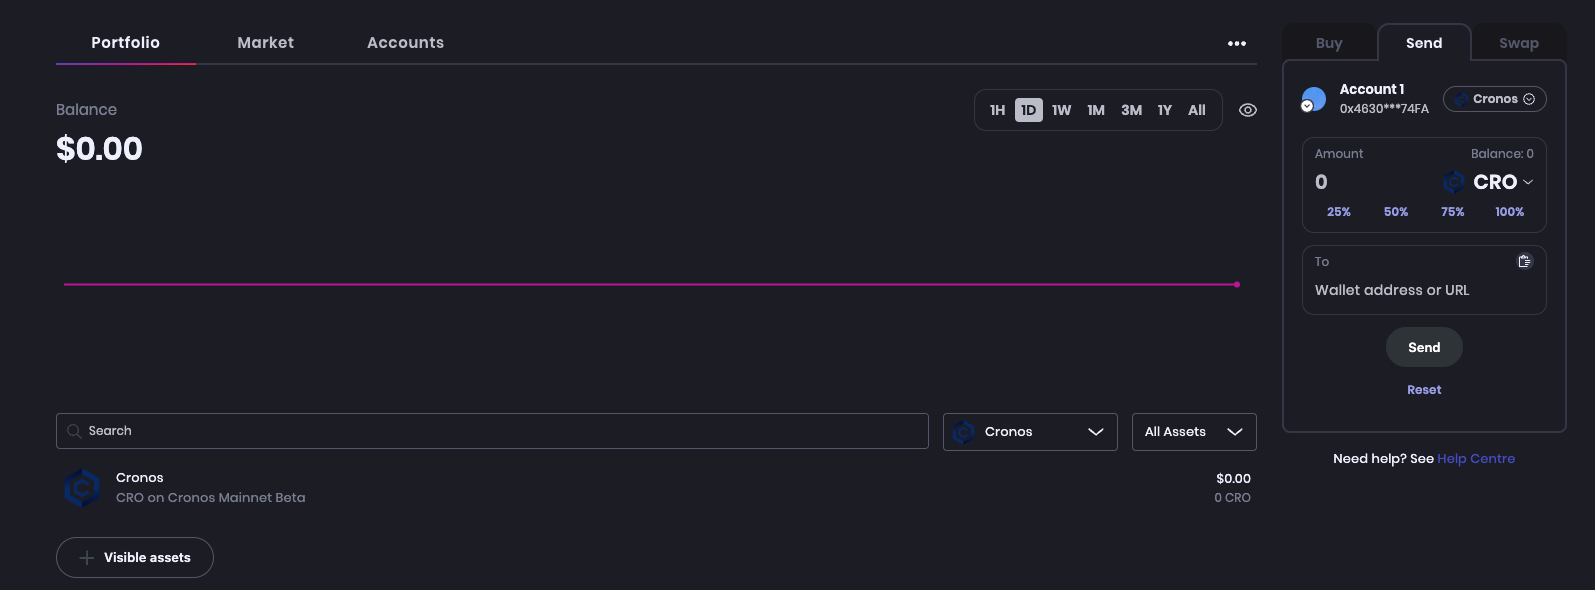
* **Step 6**\
Congratulations, we should now be able to see the Cronos network in the wallet view.
 (Wallet) icon.\
If you don’t see it? Click **Update** in the toolbar for the latest version of Brave. \\
* **Step 2**\
Now follow the wizard to either **create a new wallet** or **import an existing wallet.** Once you have your wallet ready, click the **three dots** in the upper right corner of your wallet view and go to "**settings".**\

* **Step 3**\
In the settings page, under the"**Wallet"** tab**,** click **"Networks".** Alternatively, you can visit `brave://settings/wallet/networks` in the browser URL.
(Wallet) icon.\
If you don’t see it? Click **Update** in the toolbar for the latest version of Brave. \\
* **Step 2**\
Now follow the wizard to either **create a new wallet** or **import an existing wallet.** Once you have your wallet ready, click the **three dots** in the upper right corner of your wallet view and go to "**settings".**\

* **Step 3**\
In the settings page, under the"**Wallet"** tab**,** click **"Networks".** Alternatively, you can visit `brave://settings/wallet/networks` in the browser URL.